Thursday 29 April 2010

The moment I've been waiting for

Drum roll please....my new KitchenAid has arrived!!! I'm sooooooo super excited I can't even think straight. It's absolutely gorgeous and the photos don't do it justice at all. I know the lighting is really bad but I couldn't wait till daylight to unpack it.

As previously mentioned, I have been debating since last year whether I should purchase one of these babies or not. Well I finally did it. The comments from my previous post really helped and what finally tipped the scale for me was when I saw a good deal on the internet at the weekend. I do love a good bargain! I have been keeping an eye on the price since last year and it has remained fairly constant - if anything it has gone up slightly. There were not many special offers post Christmas until now.  Amazon seemed to have the best price but I found a few other websites offering competitive prices and free gifts!

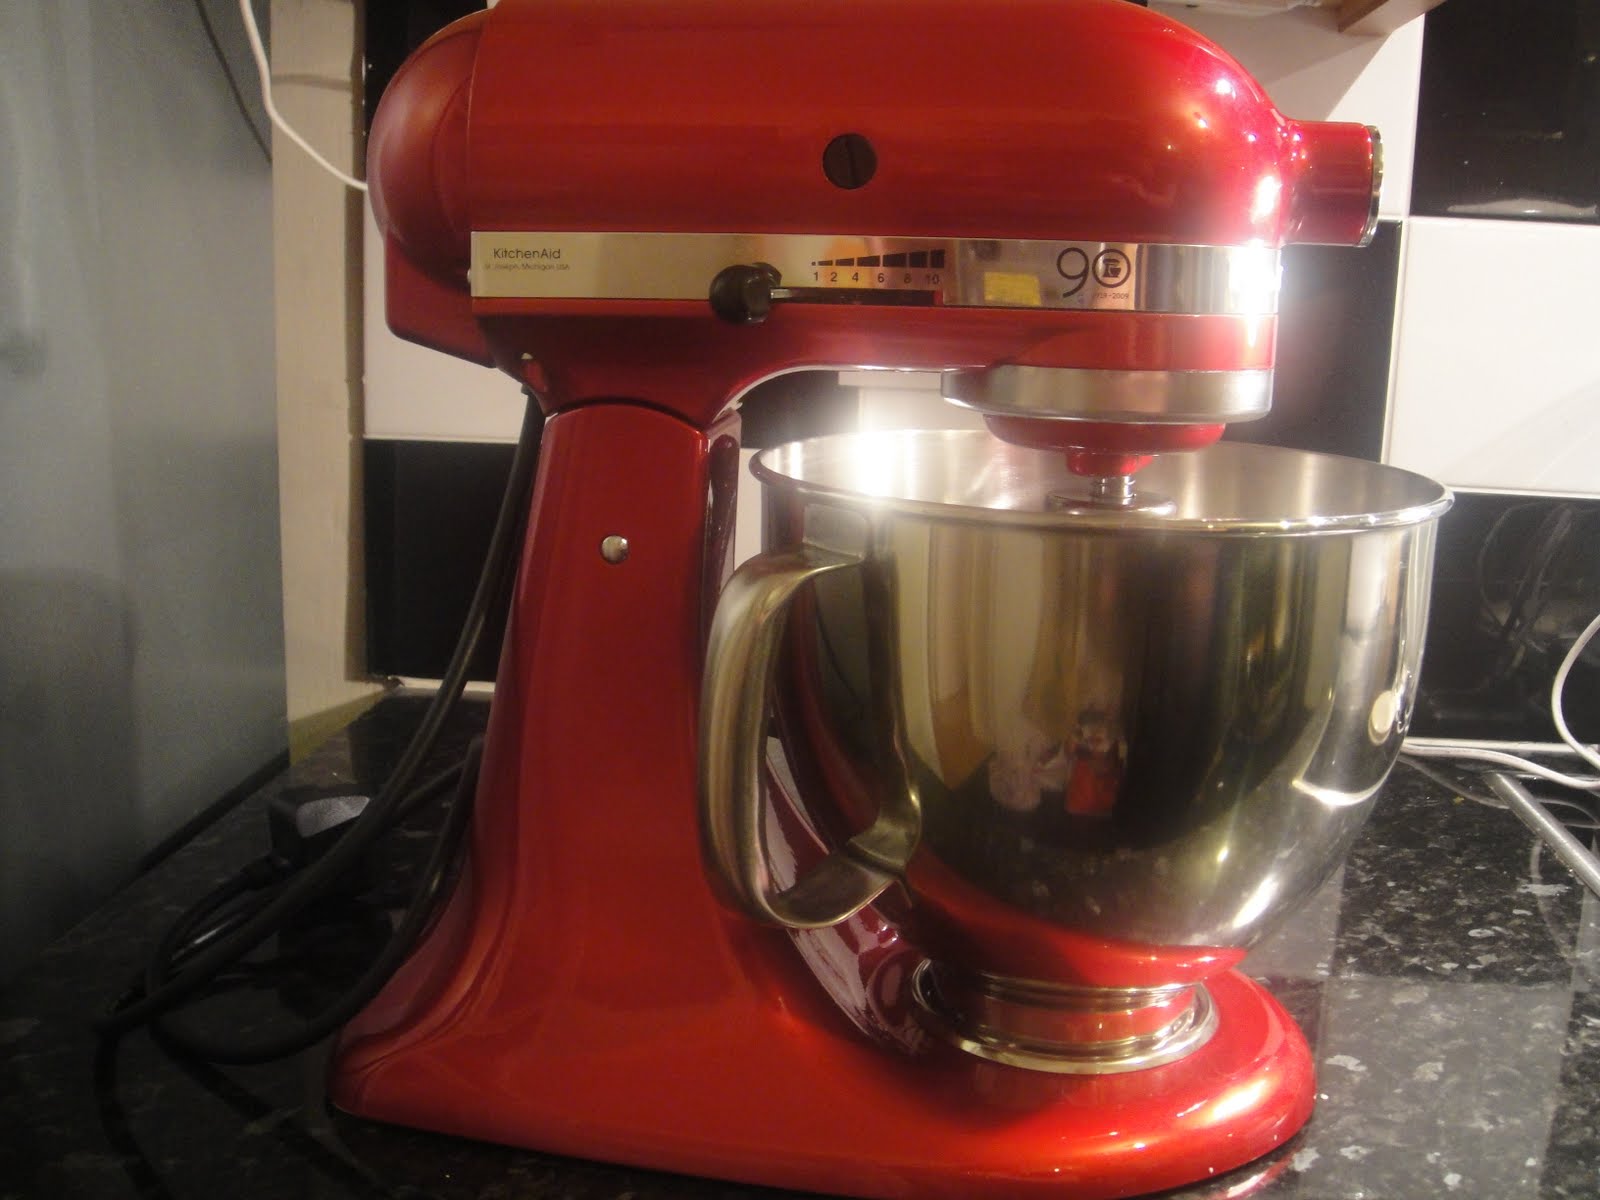
Next step was deciding on the colour. After hours of deliberation, I shortlisted it down to candy apple red, boysenberry, pearl metallic grey and possibly majestic yellow. The cranberry looked pretty good as well. Anyway I decided on candy apple red in the end partly because this is a special edition 90th anniversary colour and I do love red.

For anyone who is considering getting a KitchenAid in UK, I would suggest taking a look at these sites. KitchenAid is currently doing a promotion where you get a free 6 piece utensil set valid until end May 2010 - this is available from all the websites I looked at (except Amazon) including high street stores - Debenhams, John Lewis.
(I have researched this extensively so if you need any help do get in touch)


1. housemakers.co.uk - http://www.housemakers.co.uk/epages/Housemakers.sf/en_GB/?ObjectPath=/Shops/Housemakers/Categories/By_Brand/Kitchenaid/Kitchenaid_Mixers&PageSize=1000
This is where I got mine from. I would highly recommend this website - there is availability of a wide range of colours and has extremely competitive prices. The customer service is excellent - thank you Gail! Delivery was super speedy and efficient.
The main reason I chose this website is because their 90th anniversary edition was the same price as all other units (£359.00) All other websites were selling it for upwards of £389.00.

2. wheesh.com - http://www.wheesh.com/product/product2.aspx?product=ksm150&lang=&dep=622&gclid=CKv2qo6jn6ECFQhBlAod3xL2vg

Same price as housemakers for most colours (£359.00) but £389.00 for candy apple red. They are also running a promotion at present with a few other free gifts

If you want the 2010 pepper yellow then this is the site for you as they are doing a special promotion where you get a free KitchenAid citrus juicer attachment worth £32.00 in addition to the following gifts


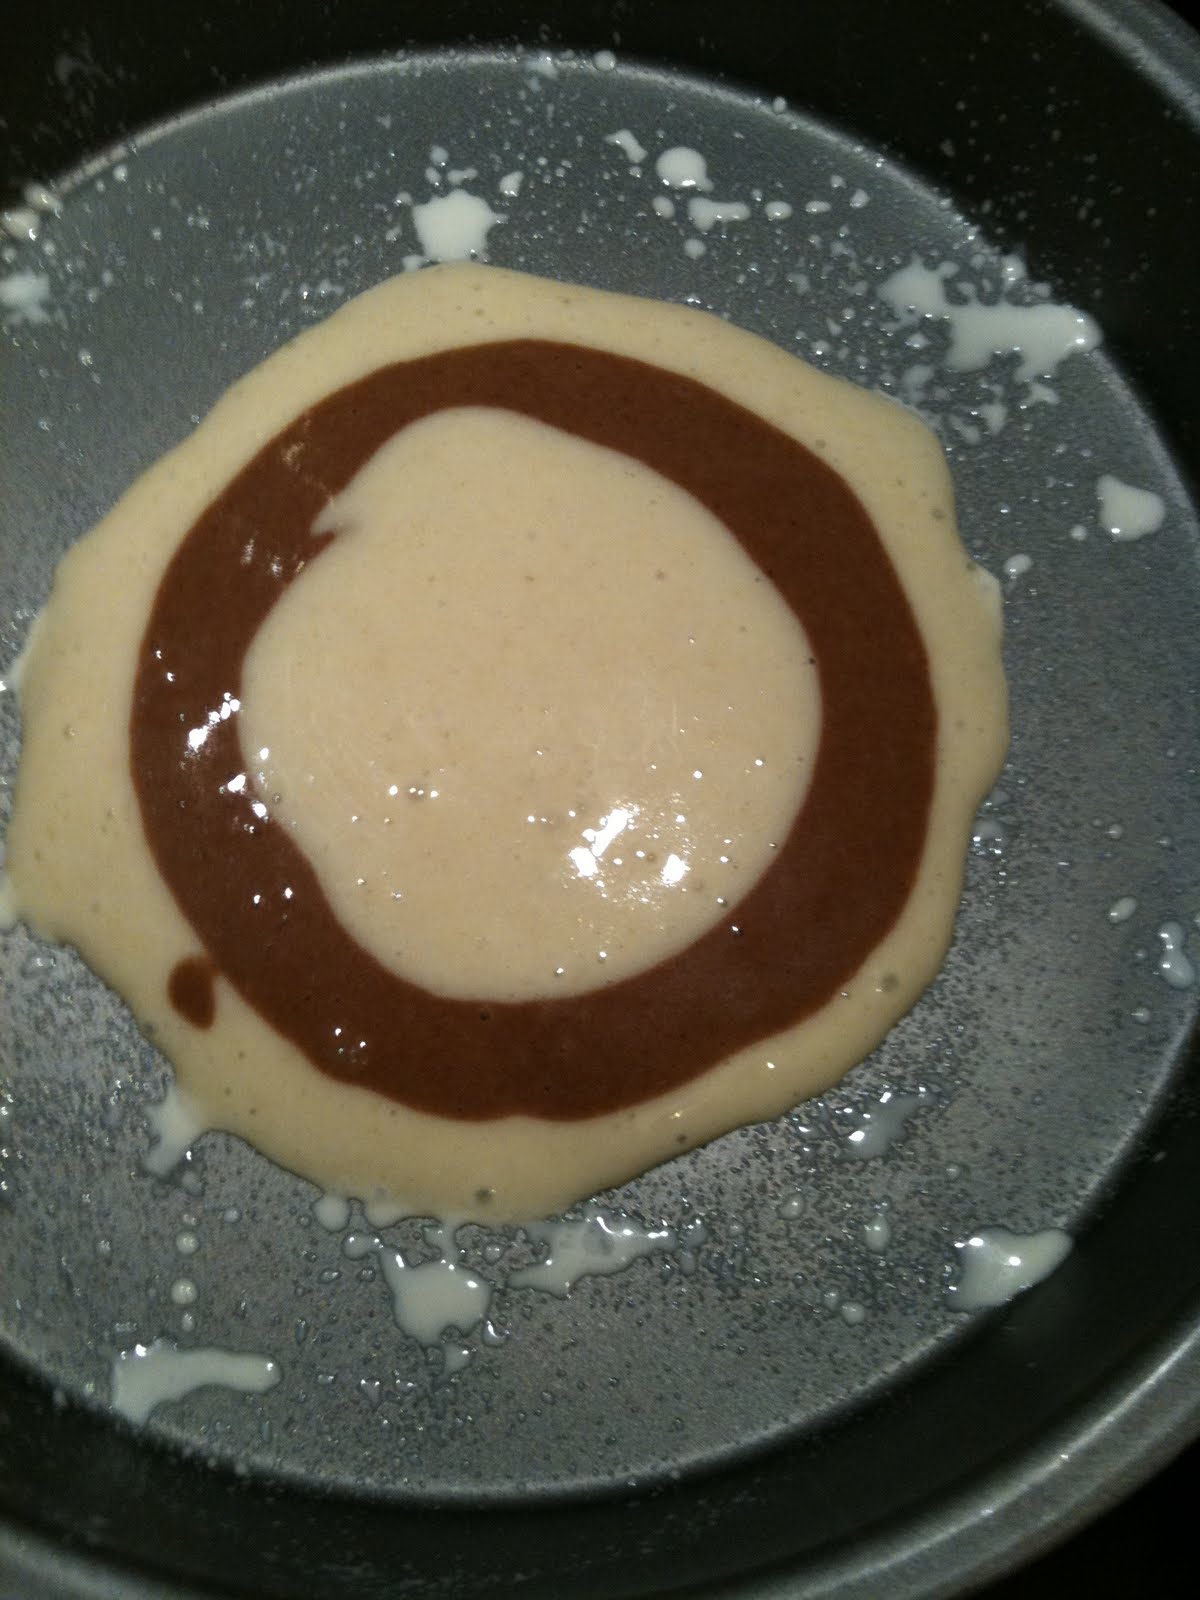
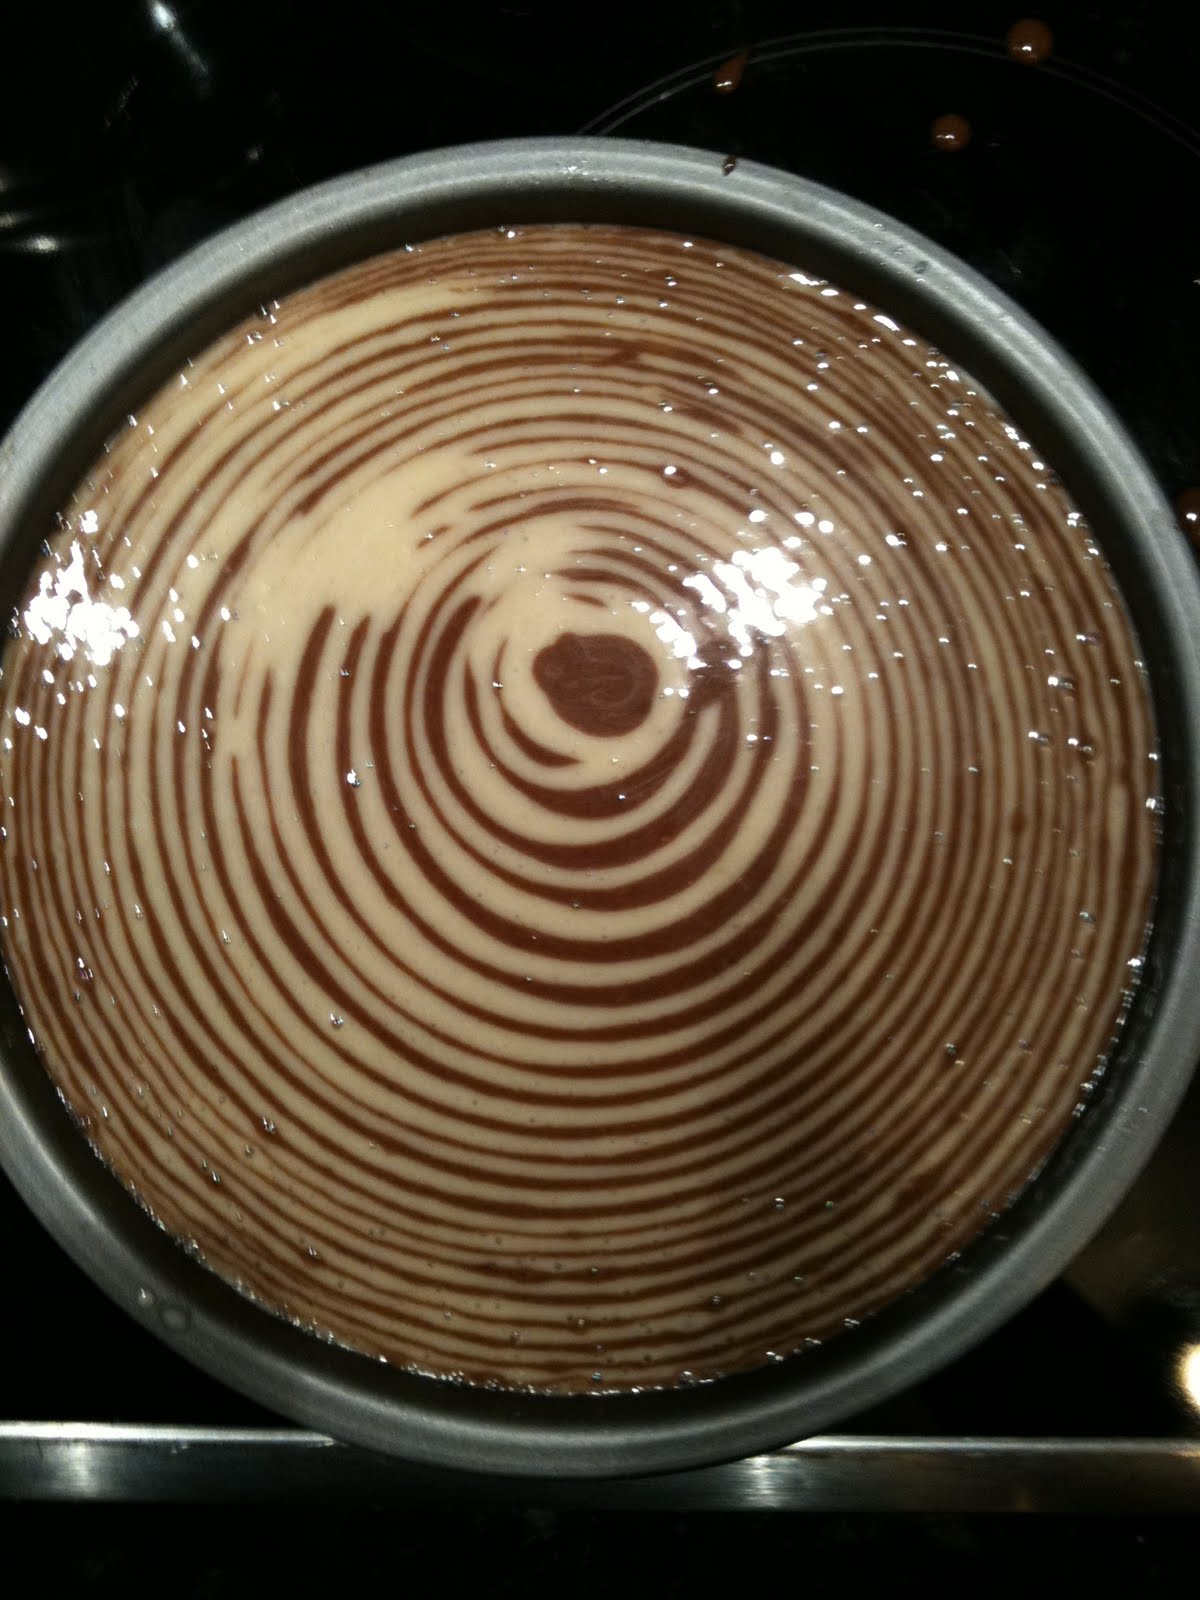
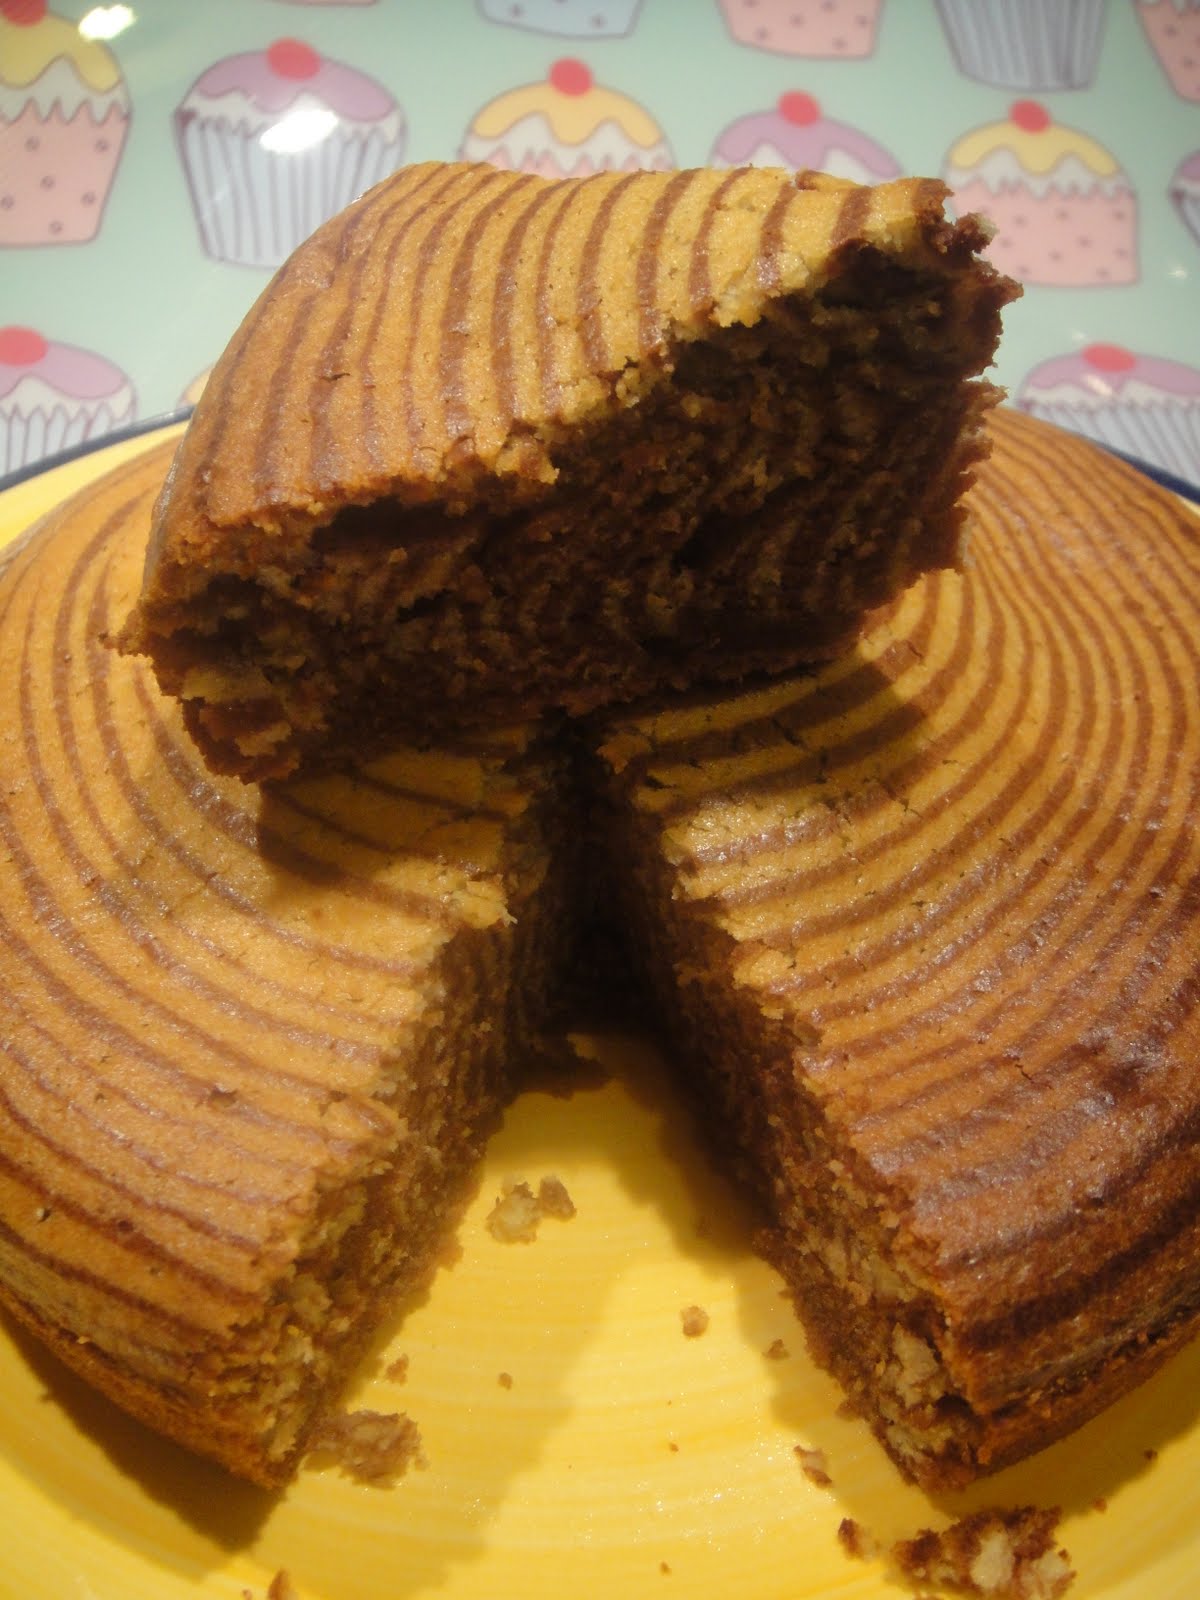
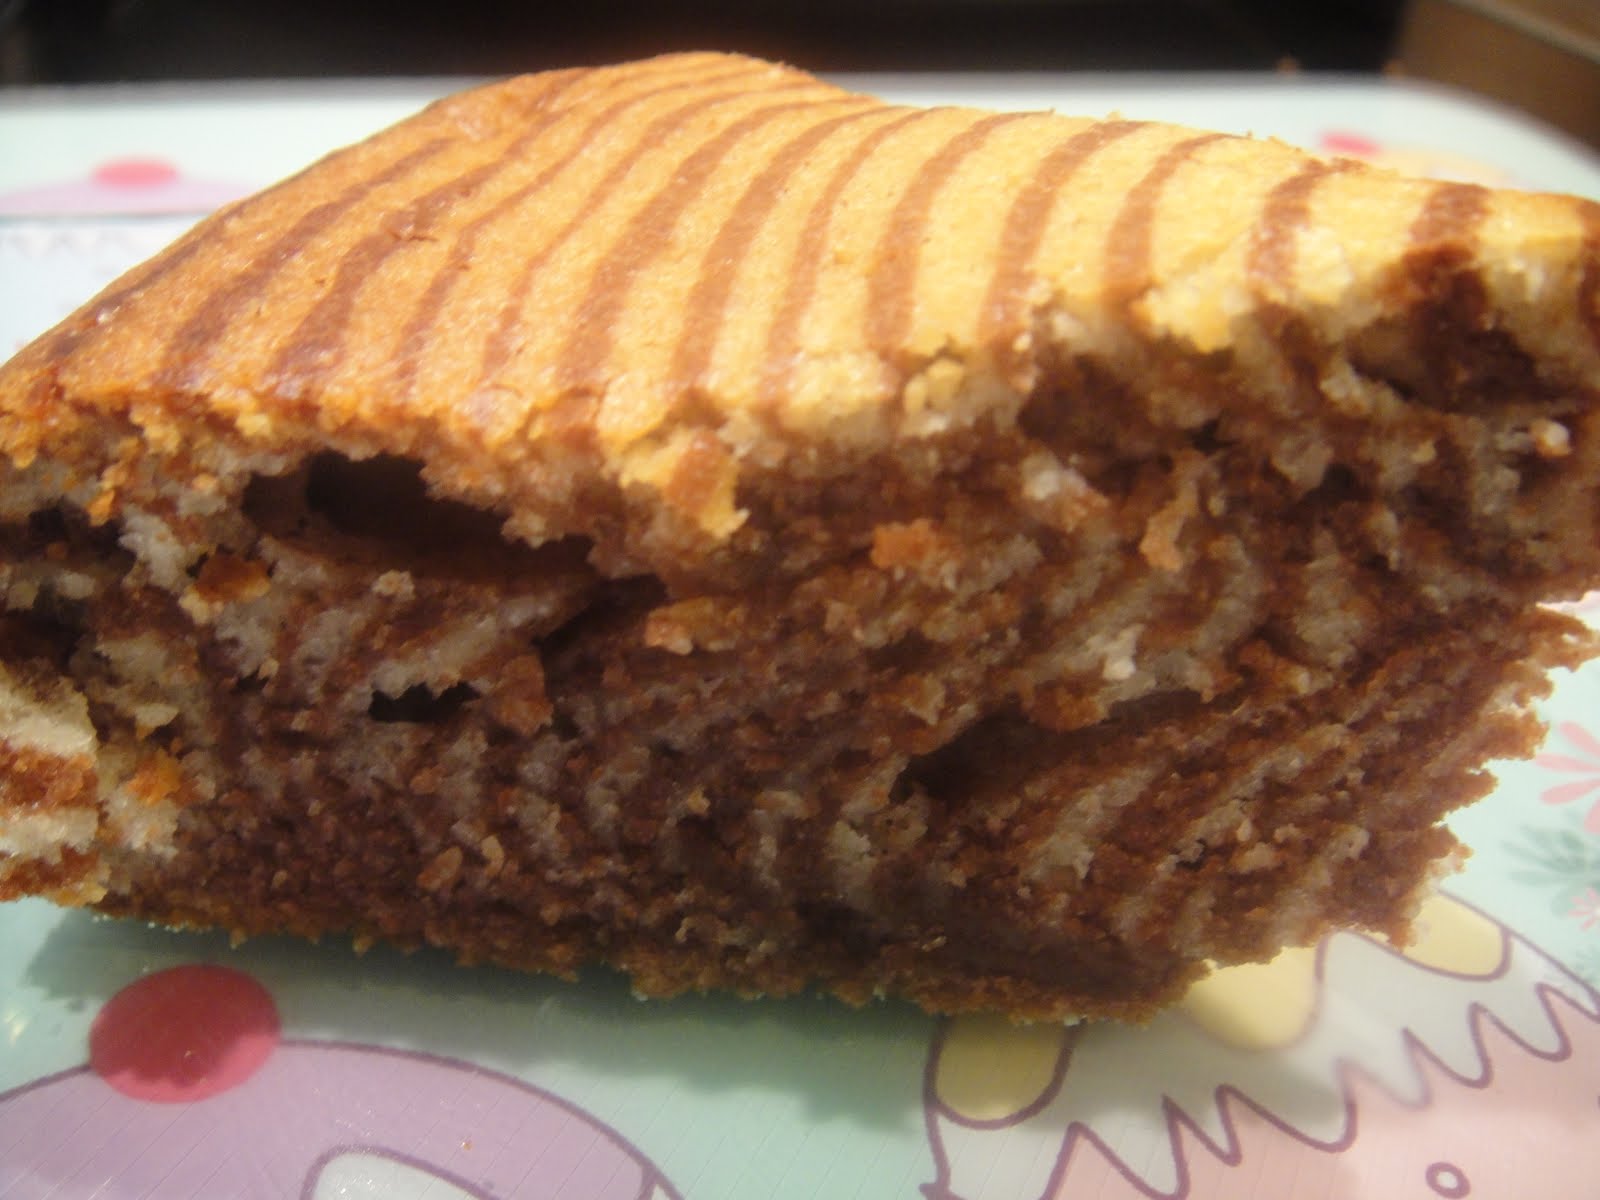
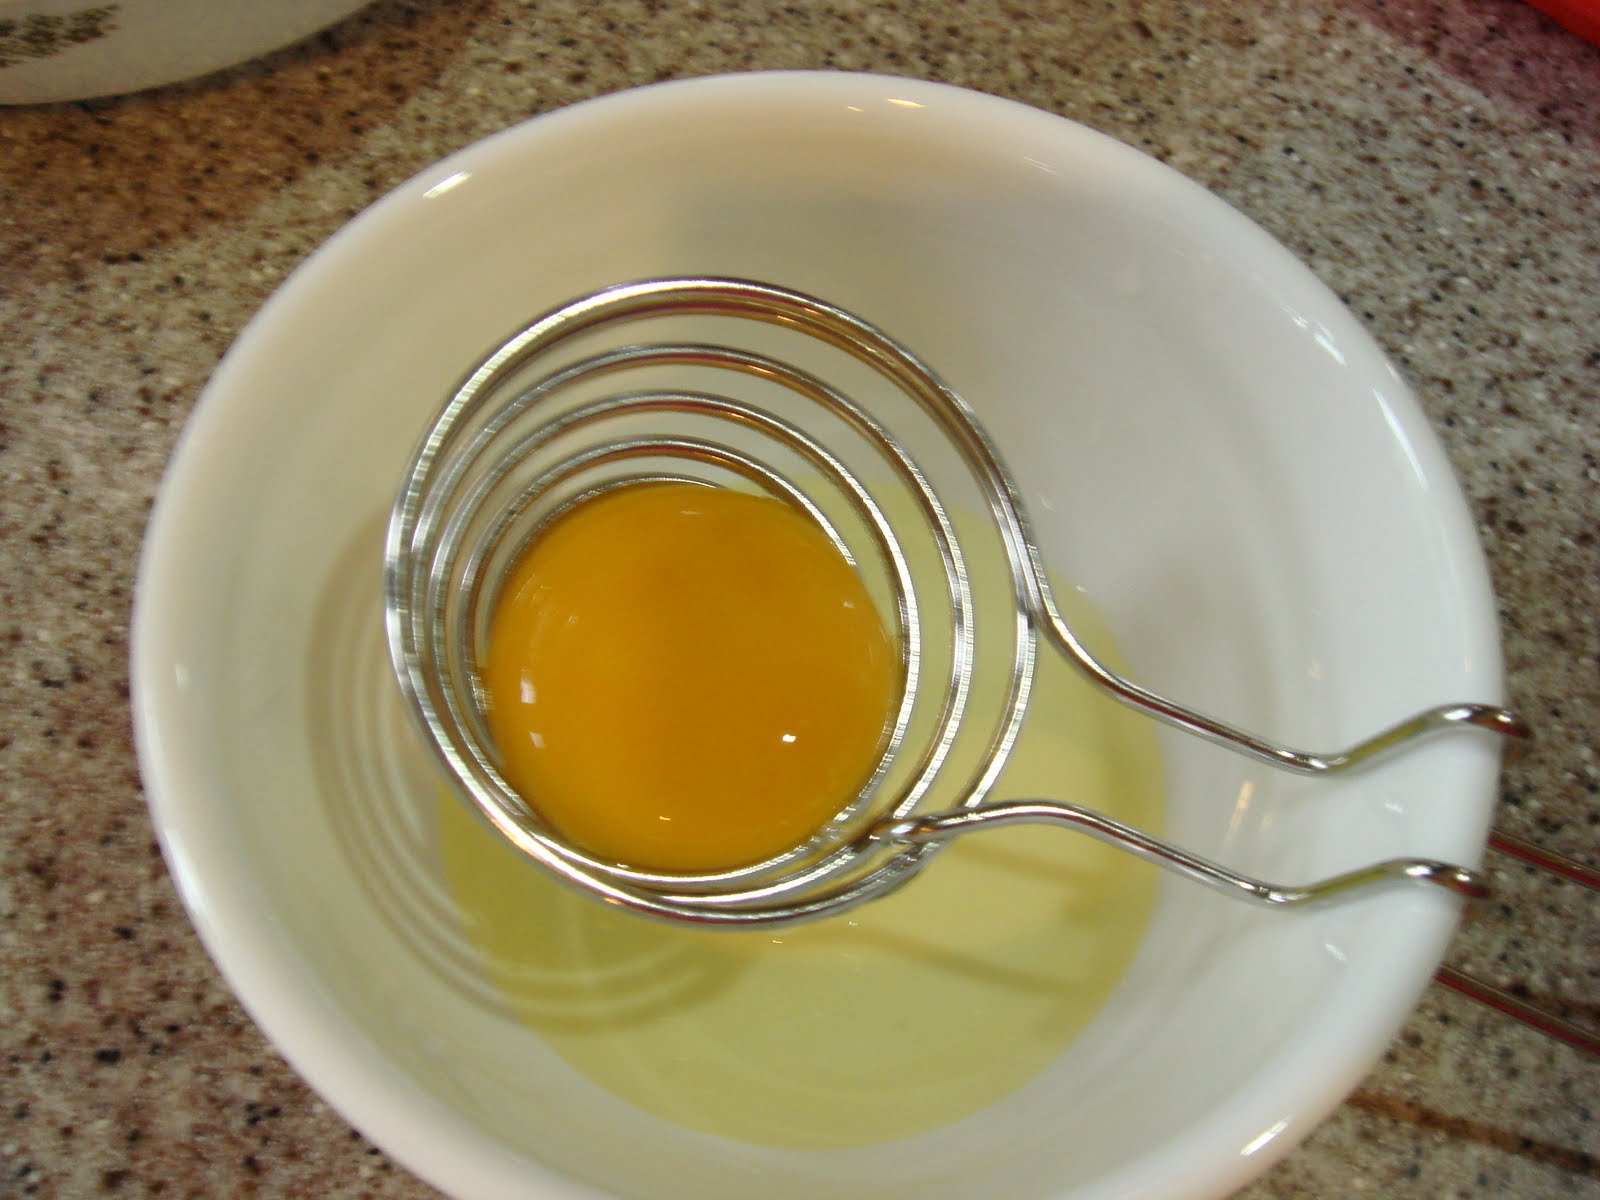
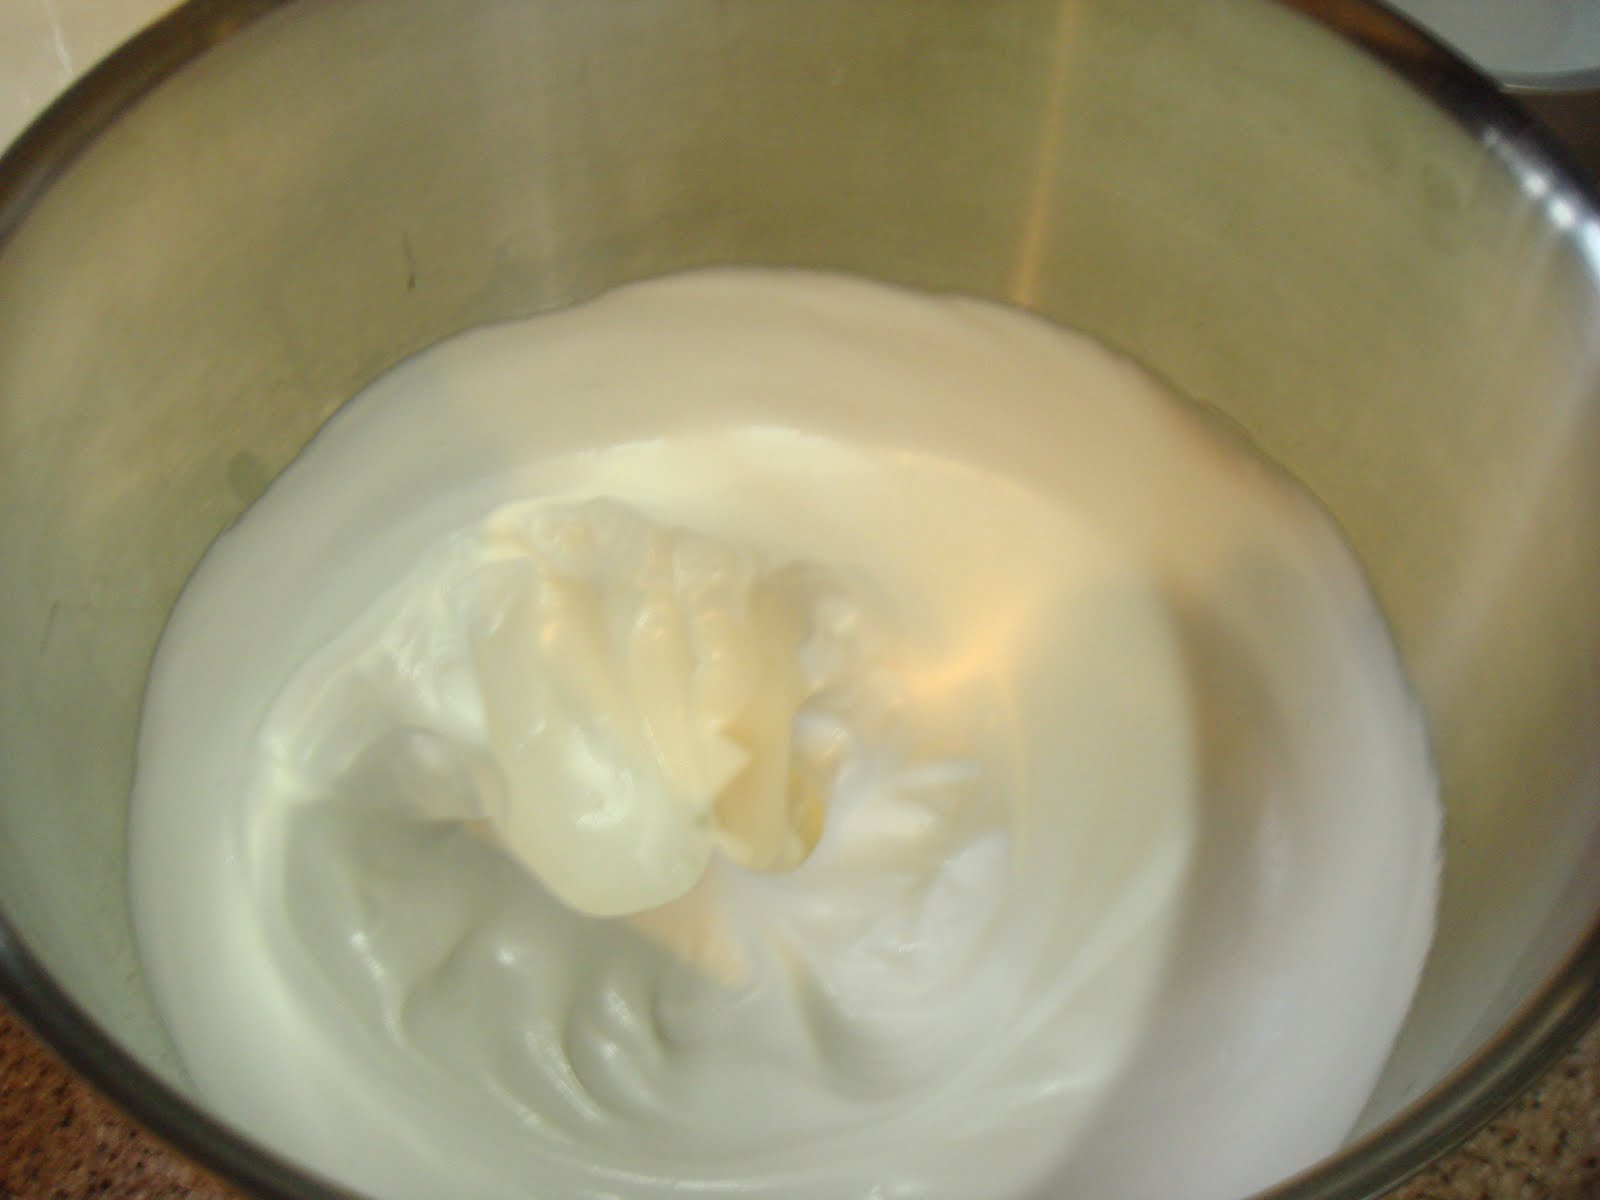
And now my new kitchen toy :)

Monday 26 April 2010

Zebra Cake

It's been ages since I've baked anything in my kitchen due to annual leave, work and life in general. I received a lovely dinner invitation and wanted to make something special for the host. I thought it would also be a nice celebration of my return to the kitchen. I saw this recently whilst food-blog surfing on baking bites and knew I absolutely had to make it.

It looked simple yet impressive which was exactly what I was aiming for. I was intrigued as to the method of creating the zebra stripes. I felt nervous trying it out and was convinced it wouldn't turn out and I'd have to make a marble cake instead.  Fortunately, it worked out well (apart from me using the wrong sized tin). Apologies for the photos as my camera battery died and I had to use the camera on my phone. I need to take a crash course on food photography anyway.

To digress a little, Lorraine@Not Quite Nigella blogged about 10 more things you should know about food bloggers. Maybe this is just me but I wonder if this should go on the list - cutting a slice of cake (made for someone else) so it can be photographed for your blog! I reassembled the cake before giving it away!

Start with ~3 tbsp plain batter

Add 3 tbsp chocolate batter on top

Add plain batter on top Keep going....

Isn't it beautiful?


Ingredients
4 eggs
1 cup sugar
1 cup milk
1 cup sunflower oil
2 cups flour
1 tablespoon baking powder
1 teaspoon vanilla extract
1 tablespoon baking powder
2 tablespoons cocoa powder

  • Preheat oven to 180C.
  • Grease a 23cm round cake tin and ideally line with parchment paper.
  • Beat eggs and sugar together until light and creamy.
  • Add milk, sunflower oil and vanilla extract. (Another recipe I read only added vanilla extract to the plain batter but I added mine at this point)
  • Add the sifted dry ingredients (flour, baking powder) and mix well.
  • Divide the batter into 2 equal halves.
  • Add cocoa powder to 1 half and leave the other plain.
  • Put 3 tbsp of the plain batter in the centre of the pan and let it spread on its own.
  • Put 3 tbsp of chocolate batter in the center of the vanilla. It will push out the other batter and, as it sits for a moment, will also spread itself.
  • This is important - do NOT tilt the pan or put less batter subsequently or 'help' the batter spread which I was tempted to do as I wasn't sure if it would turn out. It really does work on its own.
  • Continue alternating the batter until all the batter has been used up (refer to pictures)
  • Bake in the pre-heated oven for 40 mins until a skewer inserted into the centre of the cake comes out clean.
  • Allow to cool in the tin for 10 minutes before turning out to cool completely on a wire rack.
PS - I've just ordered a KitchenAid mixer and am anxiously waiting it's delivery - full post on that when it arrives. Now what shall I make to christen my KitchenAid? Suggestions anyone?

Tuesday 20 April 2010

To KitchenAid or not

Haven't had time to bake recently so I thought I'd share a few thoughts and maybe get some comments about whether I should invest in a KitchenAid (KA) mixer or not. I did mention this in my baked alaska post as I had a chance to use mum's stand mixer (kenwood) to make the meringue and sponge cake. I found it very clean and efficient and it got me thinking how much nicer it would be to bake with the help of a KA.

I have been dreaming of owning one of these beauties since I got serious with my baking. However, I already own a Magimix (which I saved and agonised over for months pre KA) and an electric hand mixer. I know I'm just being indulgent and it's more a case of want rather than need. There is also the issue of tabletop space of which I don't have much to spare but I'm sure I can make room! I do think that I will put it to good use and I see it as a long term investment as hopefully you only need to buy one in your lifetime.

I'd be really interested in your thoughts. If you have one - how often do you use it? Is it a worhtwhile investment? Does it make a difference to the final product?
If you don't have one - have you thought about it? Why have you not bought one? (assuming you want one)

Hope to be back to baking soon so do check back later :)

Wednesday 7 April 2010

Baked Alaska


Baked Alaska also known as glace au four, omelette à la norvégienne, Norwegian omelette and omelette surprise is a dessert made of ice cream placed in a pie dish lined with slices of sponge cake or Christmas pudding and topped with meringue. The entire dessert is then placed in an extremely hot oven for just long enough to firm the meringue.The meringue is an effective insulator, and the short cooking time prevents the heat from getting through to the ice cream. February 1 is Baked Alaska Day so I'm a few months late but better late than never, right?
I have never made one of these before but I saw it on TV and decided to try it out for a dinner party as it looked like a wow dessert. It certainly did not fail to impress!
I made 2 miniature and 1 large one and was really pleased with the final result. Another bonus was that I made this in my mum's kitchen. It's slightly disconcerting baking in someone else's kitchen as you're not familiar with equipment etc but definitely a bonus for me because she has a stand mixer which I desperately want. I think there may be a post about this later. Watch this space :)
Back to the dessert. First step is to make the sponge cake. I used a basic sponge cake recipe. You can use a store bought cake to save time or flavour the cake differently to suit your taste. I saw a version using a chocolate brownie base which looked good too.

Next step is the ice-cream. You need to freeze the ice cream in the shape of your cake base. Line the bottom of your bowl with clingfilm for easier removal. I made 1 large round one and 2 smaller shaped ones. 
 
Make sure your shaped ice cream is well frozen - at least 2 hours. Place the shaped ice cream on top of your cake base.
Vanilla, chocolate and strawberry ice-cream

Coffee cream

I got to use one of my favourite kitchen gadgets - this nifty egg separator to make the meringue.


Working quickly, cover the ice-cream and cake with a generous layer of meringue. Make sure it completely encases the dessert as the meringue acts as an insulator.
Should have just made these round to save time as you can't really see the shape under all that meringue! Live and learn :)
Place in the freezer again for a minimum of 30 minutes so that it's nice and firm. Bake in a very, very hot oven for a few minutes until brown or you can use a blow torch if you have one.
I love the effect of the tri-coloured ice cream.

For the sponge
225g butter, softened
225g caster sugar
225g self-raising flour
3-4 eggs (depending on size of eggs)
Grated zest of 1 orange (optional)
1 tablespoon of freshly squeezed orange juice (optional)

For the meringue
8 egg whites
1 cup sugar
1 teaspoon cream of tartar


  • To make the sponge :

  • Combine all the ingredients (ideally with a mixer) until smooth.

  • Pour into a lined cake tin and bake in a pre-heated oven at 180C for about 20-25 minutes until golden brown.

  • Allow to cool in tin for 5 minutes before turning out onto a rack to cool completely.

  • To make the meringue :

  • Beat the egg whites and cream of tartar until frothy.

  • Slowly add the sugar and continue beating until stiff peaks form.

  • To assemble dessert:

  • Shape ice cream if desired (using moulds) and freeze until solid.
  • For the traditional dome shape, line a bowl with clingfilm. Fill with softened ice cream until it's packed tightly with no air bubbles. Ideally the diameter of your bowl should be slightly less than the diameter of your cake base. Freeze until solid.

  • Place shaped ice cream on top of cake base.

  • Cover the ice-cream and cake fully with meringue ensuring the bases are fully covered. You need to work quickly to prevent the ice cream melting and making a mess.

  • Freeze again for a minimum of 30 minutes, ideally a few hours or overnight.

  • Preheat oven to 240C or as hot as your oven will go.

  • Place frozen dessert on a baking tray and bake for 3-5 minutes until browned.

  • Remove from oven and serve immediately.

  • Tip :use a sharp knife dipped in hot water to slice dessert.